
This is a quick tip on how to get precise timing and positioning by double-clicking your keyframe in After Effects. You can view your playhead offset from the keyframes while adjusting the values to get your timing just right.
This works best when you are animating something on and off-screen. The start keyframe or the end keyframe is off-screen so you're not seeing the adjusted end keyframe, but it can work otherwise as well.
Sometimes you need to time something just right when you are doing an explainer. It needs to be in a precise location for a beat to match with audio or other cue points. You can't put a keyframe there, because that will upset the arc, flow, or other dynamic that you have in place. This is when this tip comes in handy.
Precise Timing and Positioning Example
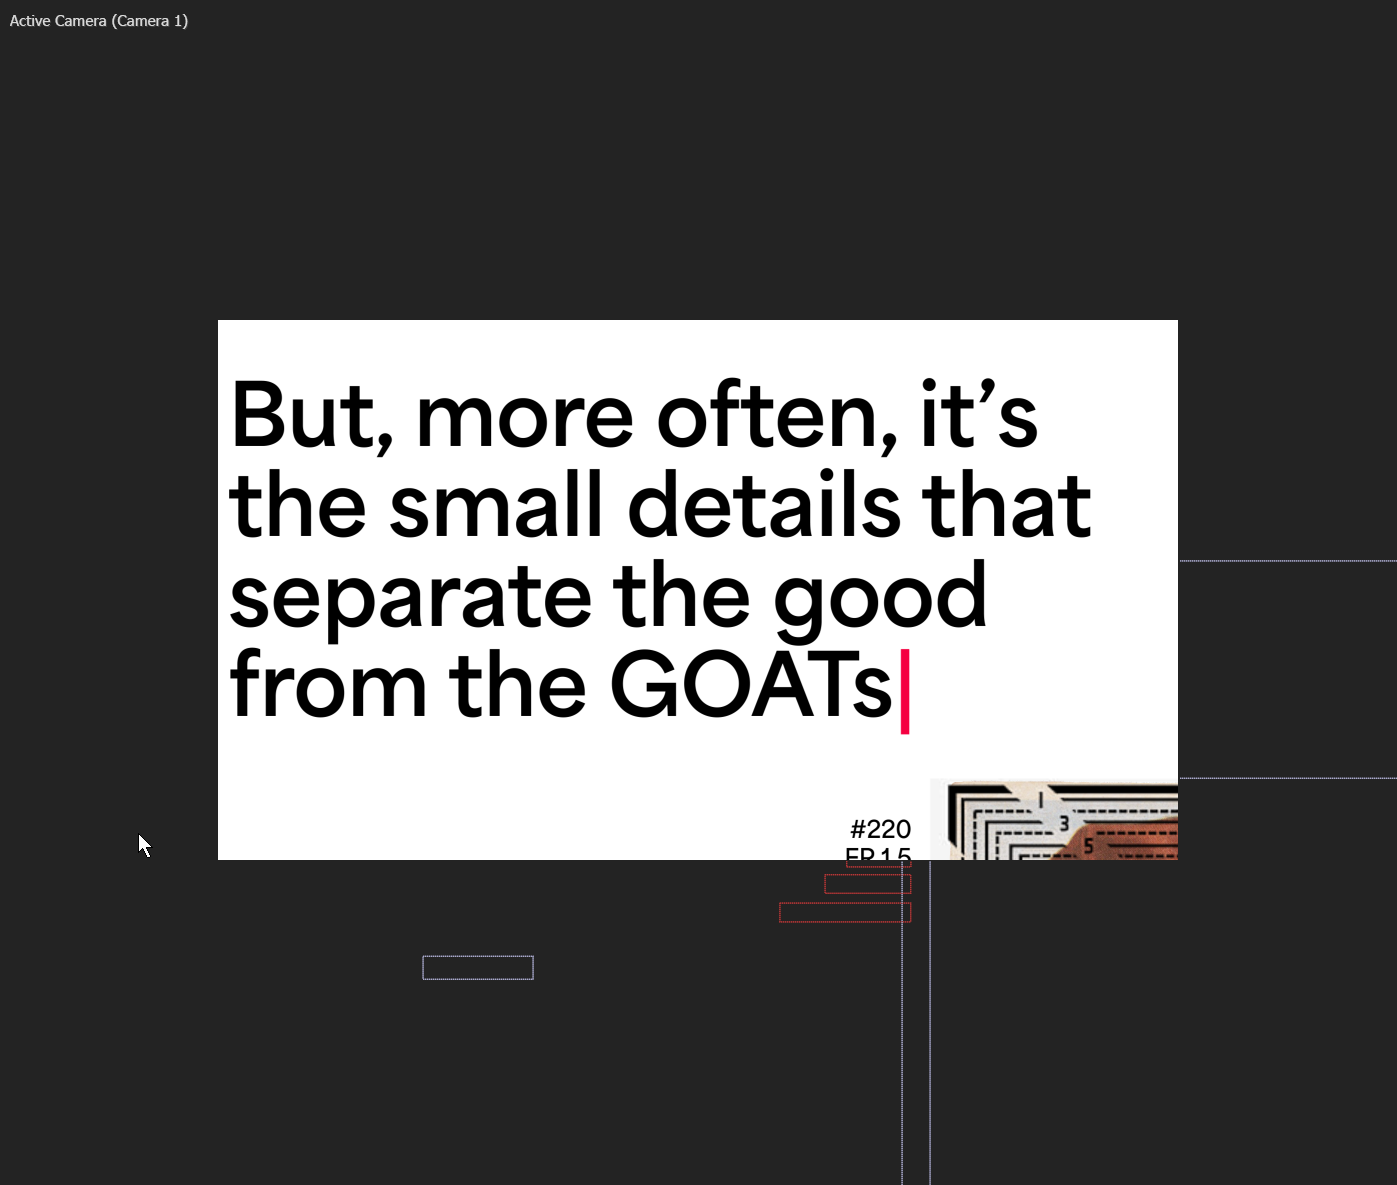
Here's a quick example that I did on a recent project for PSA that illustrates the problem and solution. This shot is a little to close to the edge and it's right in the middle of a camera move. If I put a keyframe in the middle it will break the ease and put a hook or a stutter in the flow of the motion.
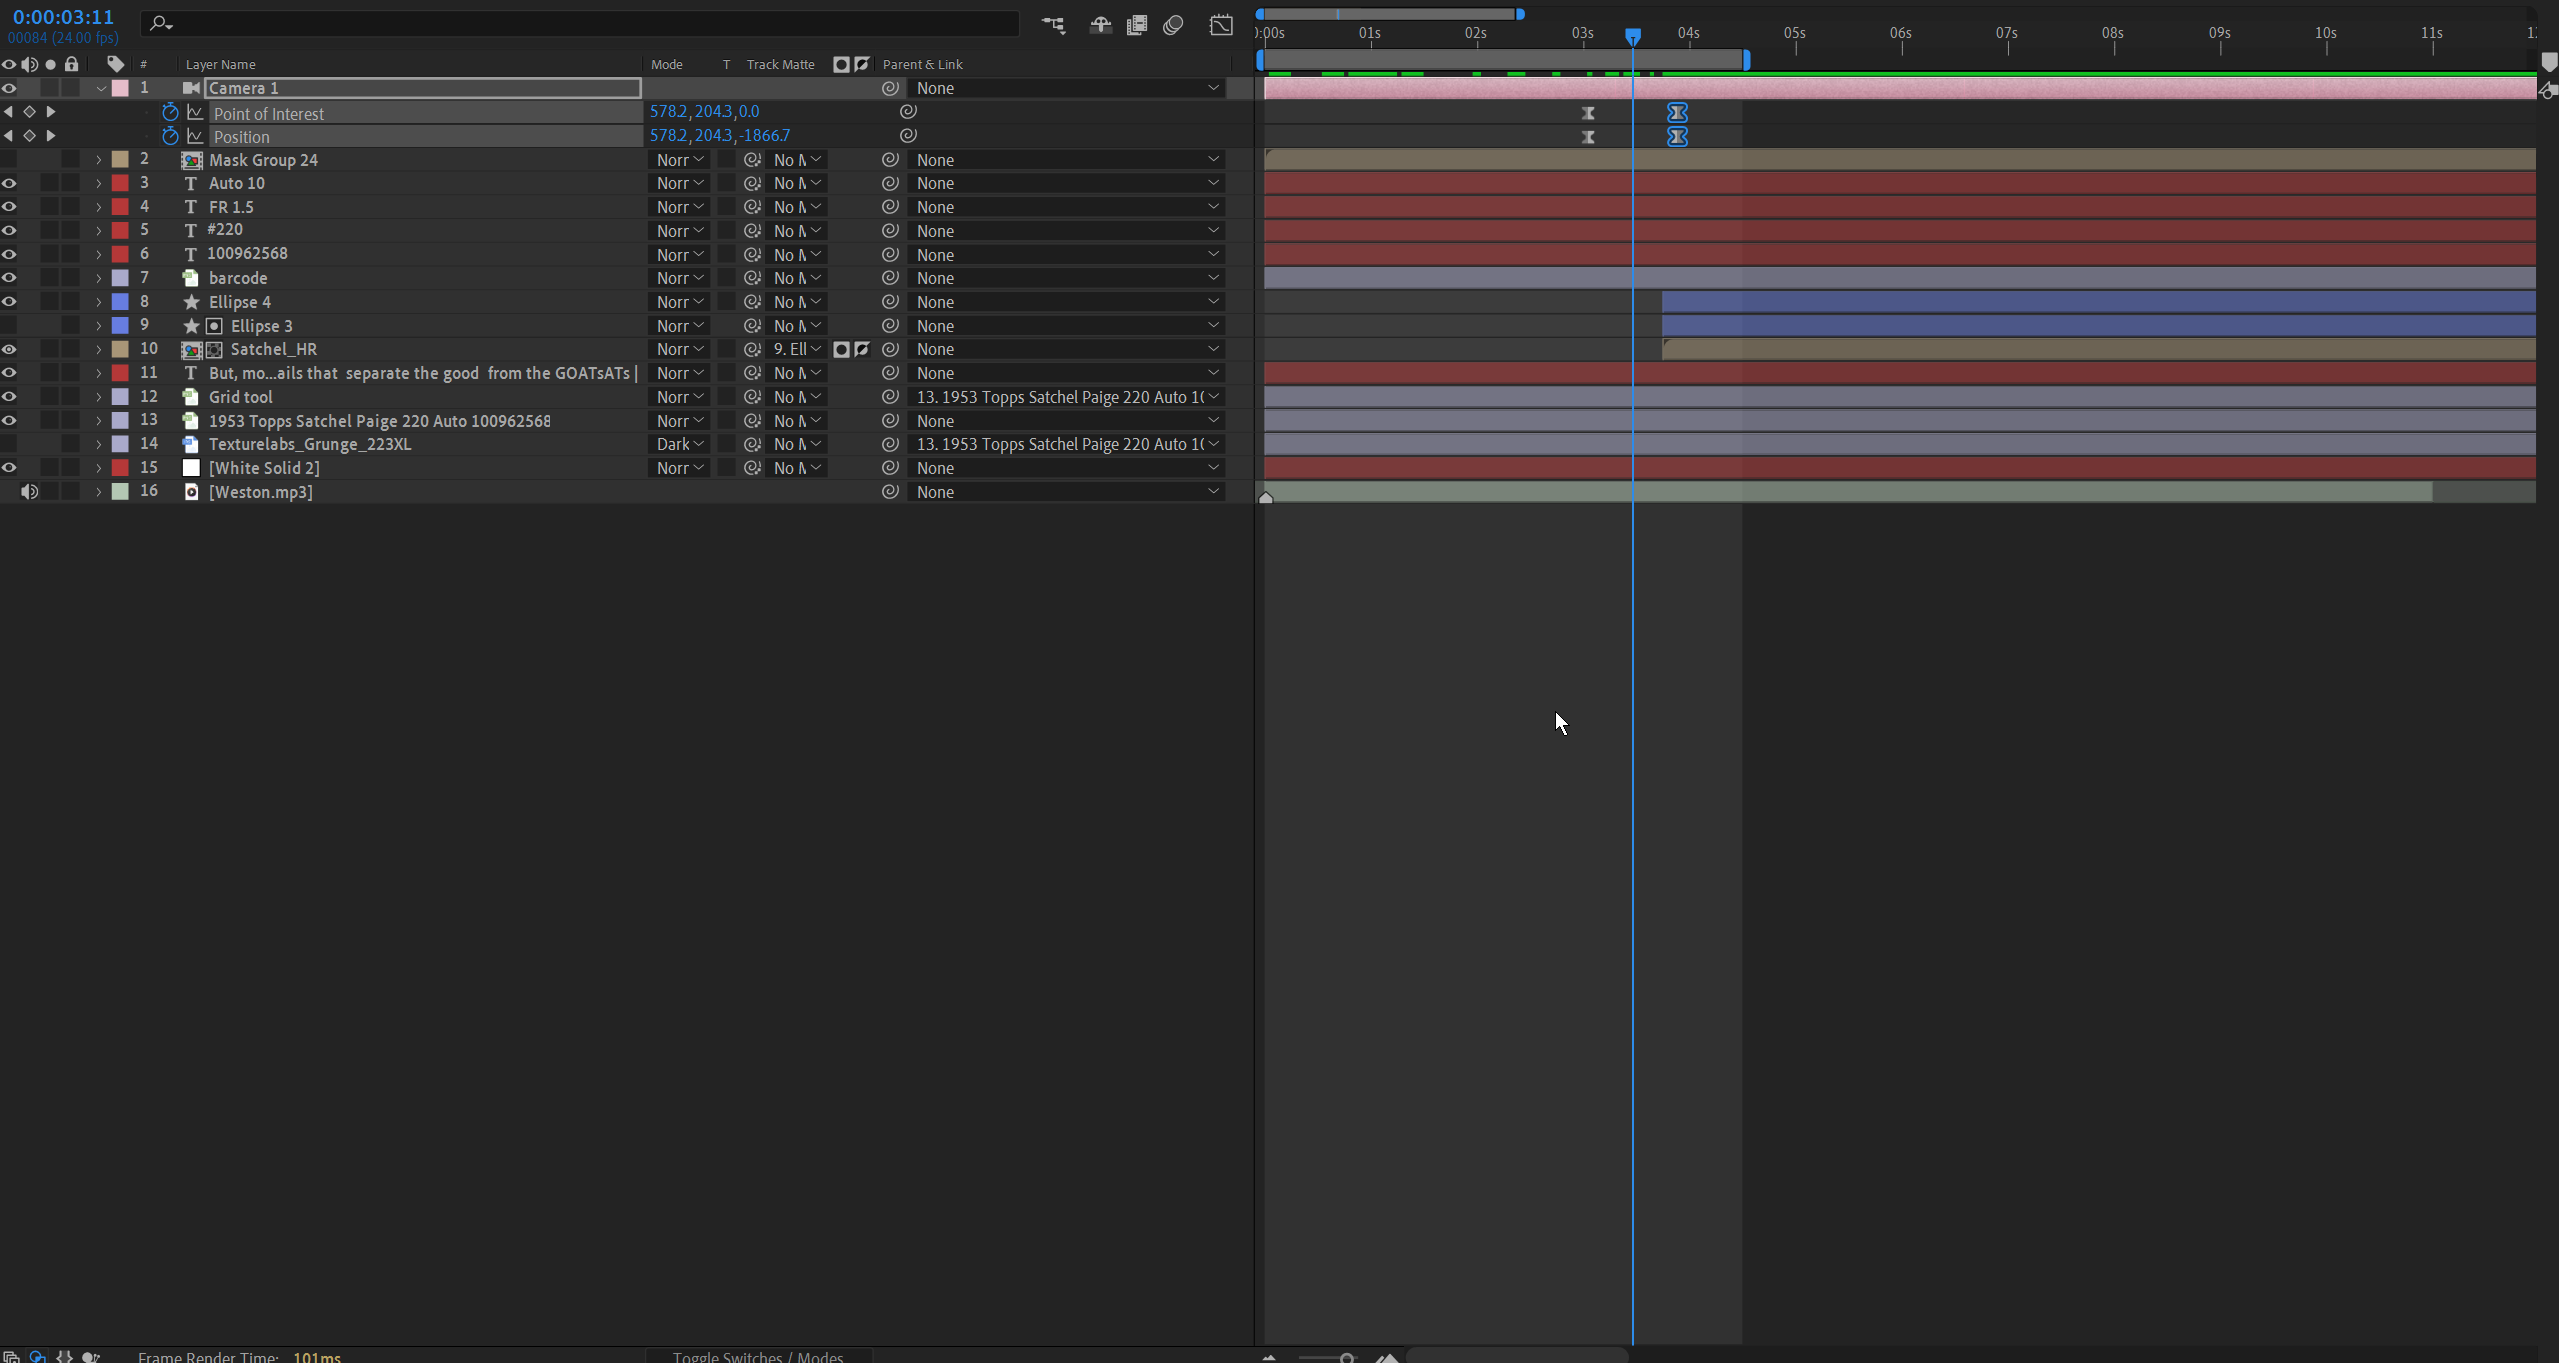
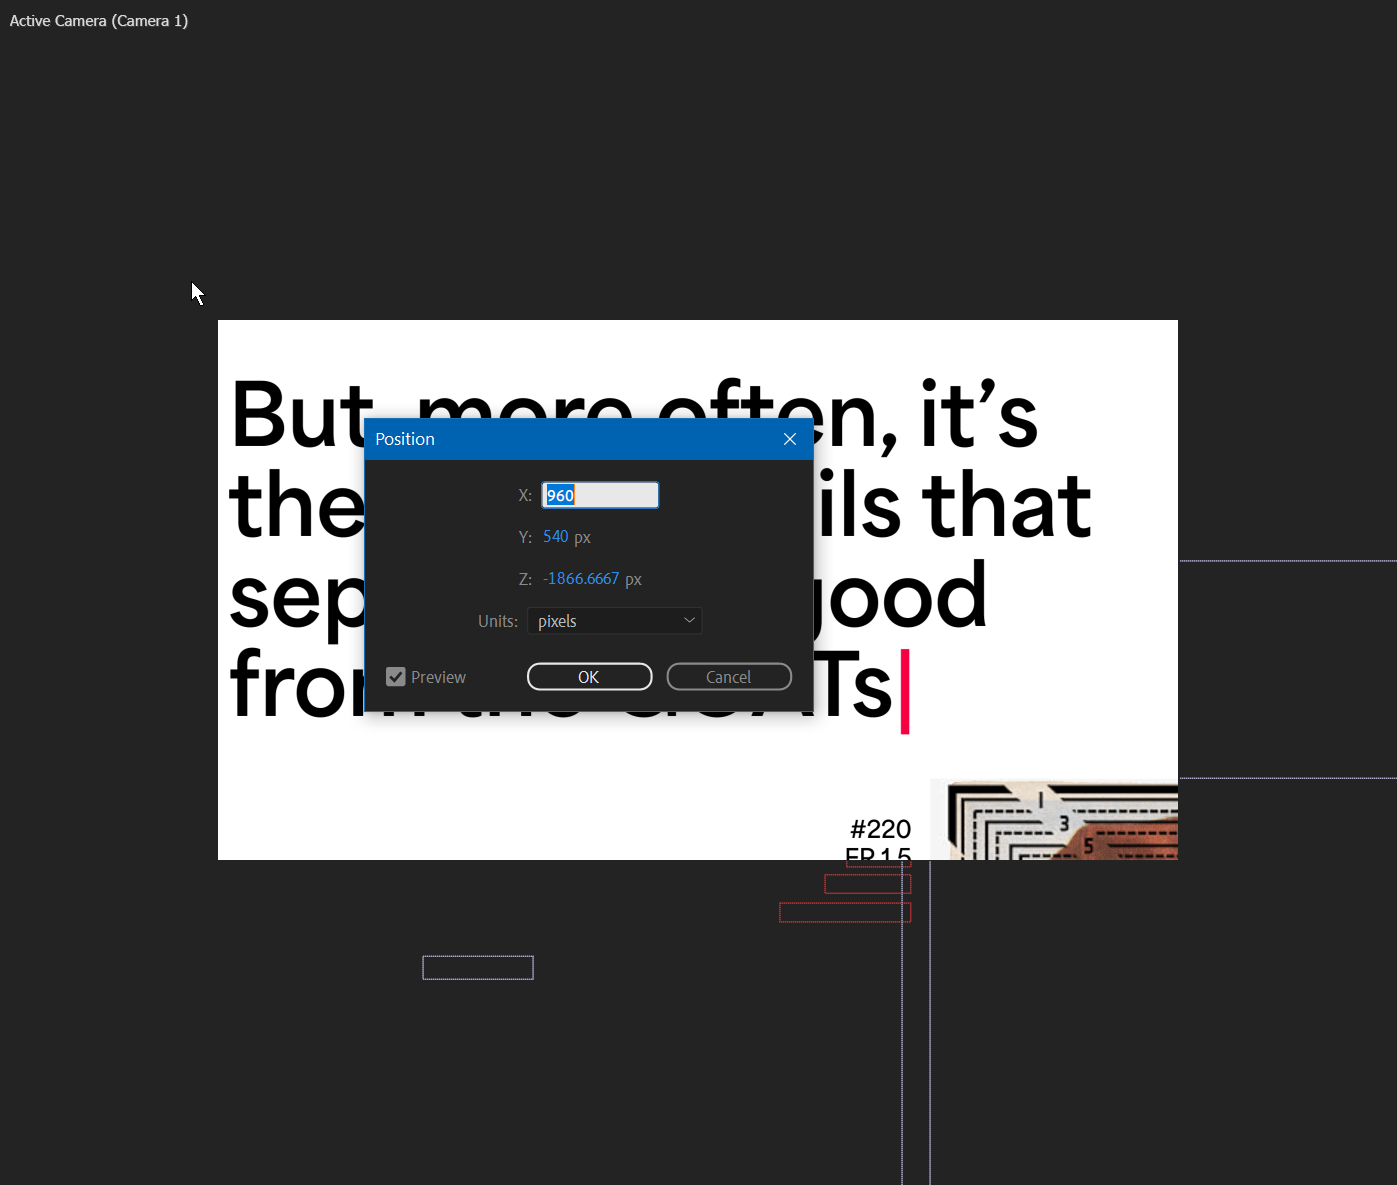
So I will position my playhead on the problematic selection and then double-click the position keyframe.
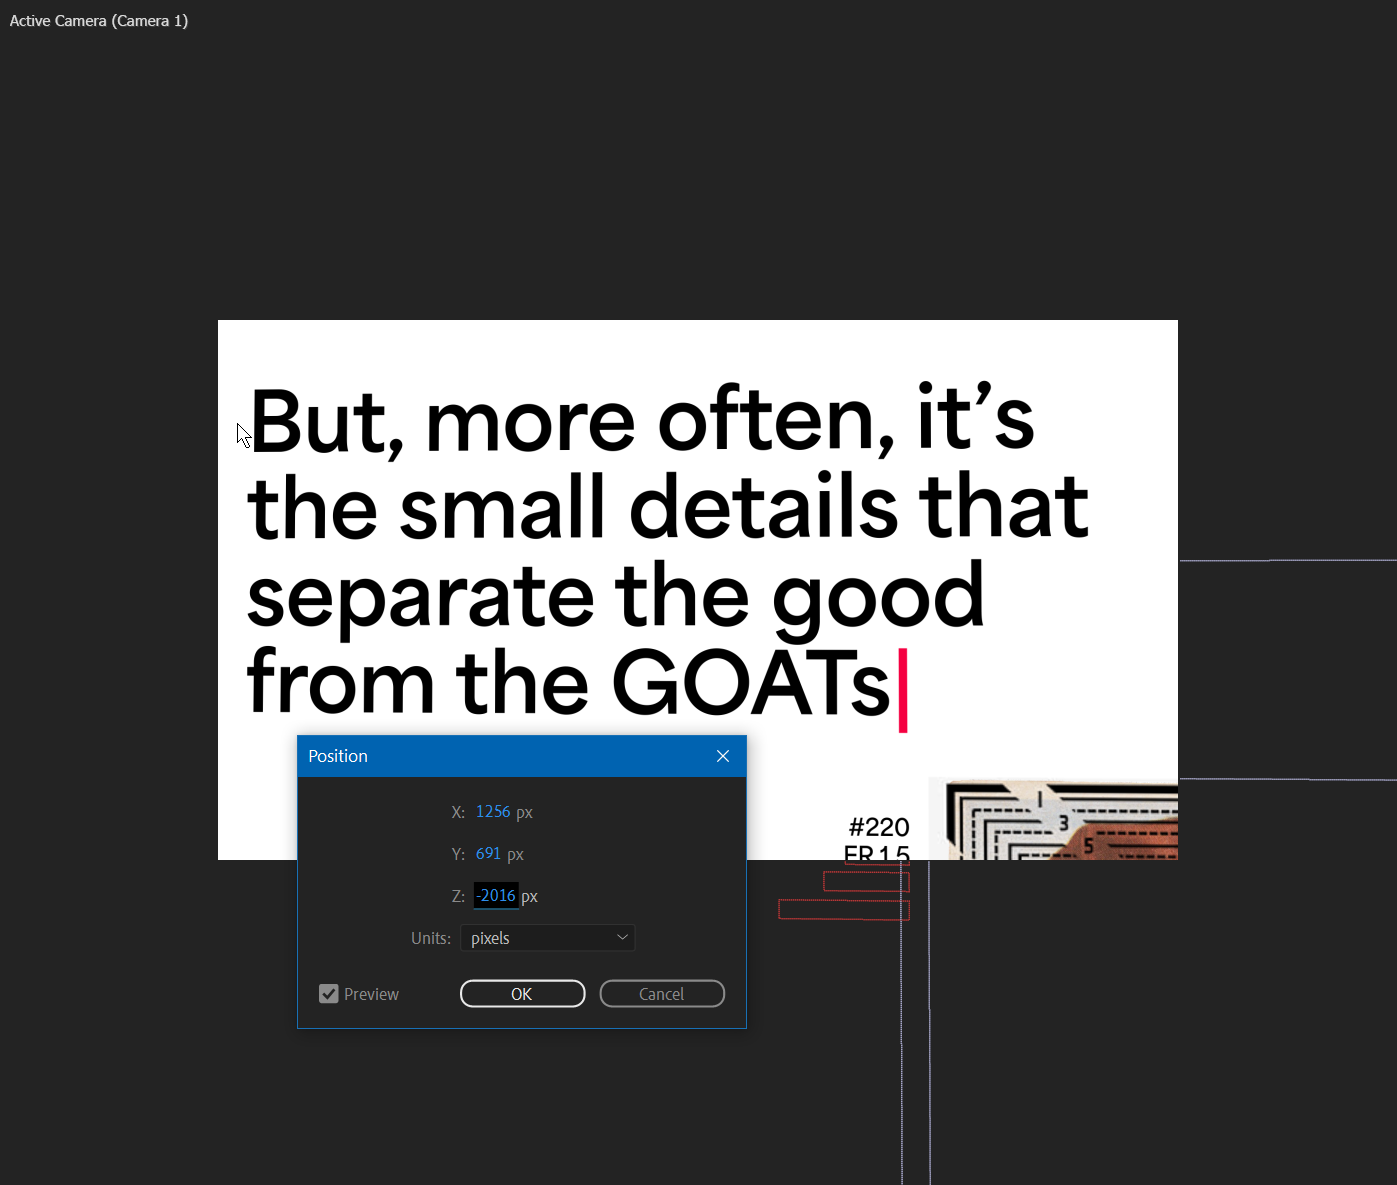
When I double-click the position keyframe and make my adjustments, I'll be able to view how it affects the problematic section in real-time.
I'm able to adjust it so it's not as close to the edge, without putting an extra keyframe in and screwing up all my easing, nor do I have to fiddle with curves in the graph editor and risk the move getting all out of whack.
This tip was originally learned from Chris Corban from Slingshot Studio about 10 years ago. I just wanted to give him a quick shout-out for helping me improve as a motion graphics animator.
No comments.